
Displaying an AutoCAD Drawing

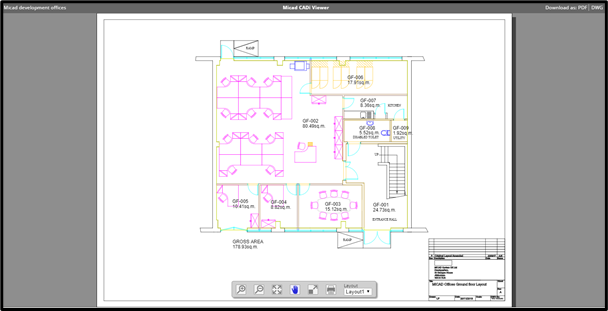
Firstly, navigate to a location where a CAD drawing is located then if you click on the drawing in the Document description column the drawing should display like in the screenshot below.
Overview of the new viewing controls
This is the new toolbar for the Micad CADi Viewer.
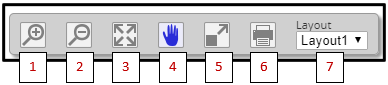
- Zoom in – zooms into a part of the drawing.
- Zoom out – zooms out of the drawing.
- Zoom all – zooms out to the original view.
- Pan and Zoom – Pan and zoom around the drawing.
- Fullscreen – this displays the drawing full screen without the menus.
- Print – click this to print the drawing.
- Layout – select which layout you want to view in the drawing.
IPR Classic View (using Autodesk Design Review in Internet Explorer)

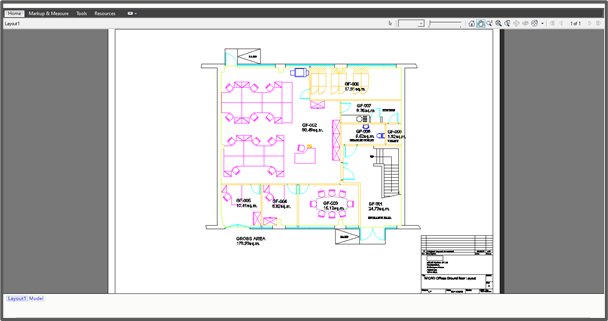
In Internet Explorer there is another option on the menu to view the drawing in Design Review (DWF). If you click this button and you have Design Review installed, you can view the drawing just like on IPR 3.5 as seen below.
Downloading Drawings
In the top right-hand side of the CADi Viewer there is an option to download the drawing. You can either download this as a DWG or a PDF so if you click either of these it will come up with a window that asks you where you want to save the file.

Sharing a floor plan drawing view with colleagues
If you need to be able to show a colleague a specific drawing you can just go into the drawing and copy the URL at the top of the page and email them the link. They will then be able to view the drawing when signed in and they can also download the PDF or DWG as above.
You also can send them the direct link for the drawing by right-clicking on the DWG or DWF this looks slightly different on different browsers. So, if you click ‘Copy link address’ in Chrome, ‘Copy link’ in Edge, ‘Copy Link Location’ in Firefox or ‘Copy shortcut’ in IE this then copies the link to the clipboard, and you can paste this into an email. With a PDF this will open it in Adobe Viewer and then they will have to save this from within Adobe Viewer but the DWF will download directly.
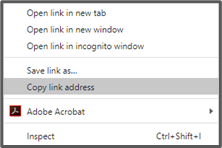

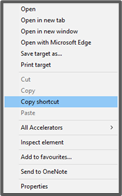
Chrome Edge IE
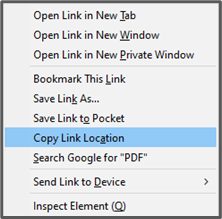
Firefox
Displaying drawings as Graphic Reports with legends
If you open an as-built drawing and then click Graphic reports from the menu on the left, you will then be given a list of reports that can be run.
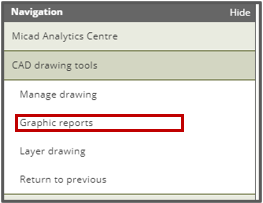

For this example, we are going to run a report called ‘Areas’ so if you click run this will then display the graphic report.
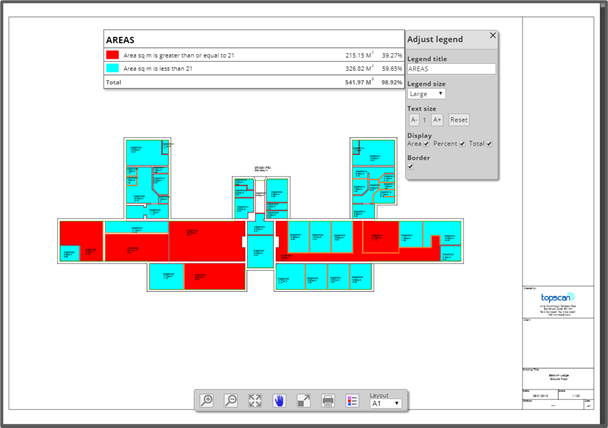
When a graphic report is run you can now add a legend with customizable features so if you click on the highlighted button in the above screenshot a legend now appears. When clicking the Legend, you can add a Legend Title, change the Legend size, change text size and the ability to display the Area, Percentage and Total. If you wanted a border around this, you could switch this on too. You now can move the Legend anywhere on the drawing that you like and then download this to a PDF or DWF (depending as what is set for this particular Graphic report which can be changed in the Graphic Reports list).
Displaying a drawing on an iPad
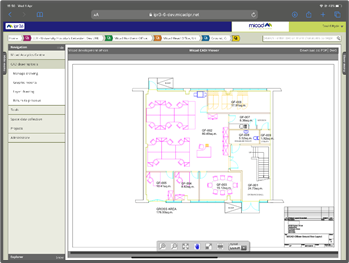
This is a screenshot from an iPad Pro and the drawings display as they would on a PC.
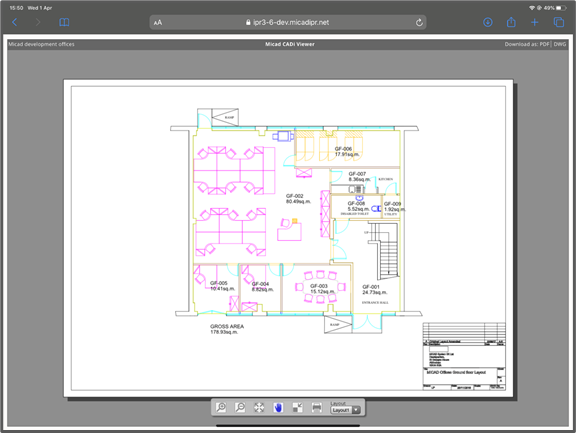
Full Screen Mode
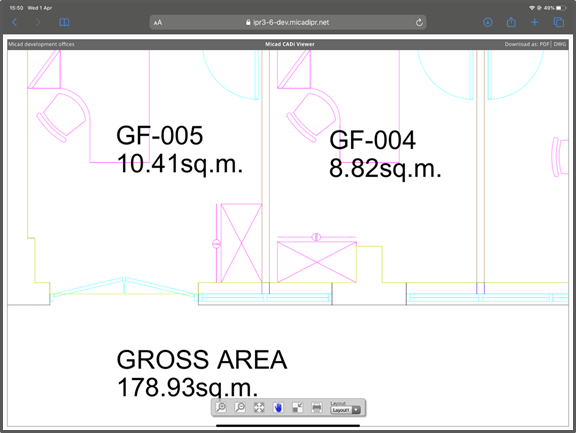
Pinch and zoom into a part of a drawing.
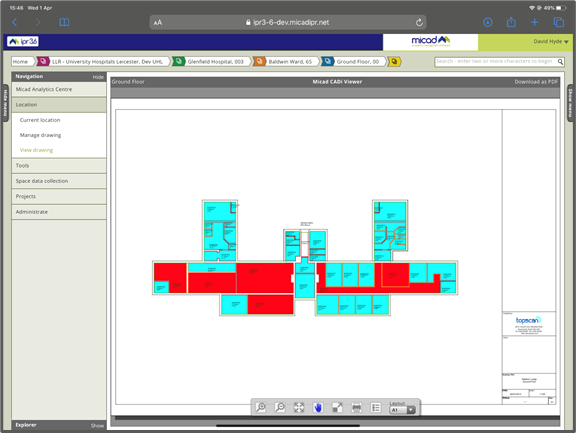
Graphic Reports on the iPad.

Adding Legends can also be done on an iPad.
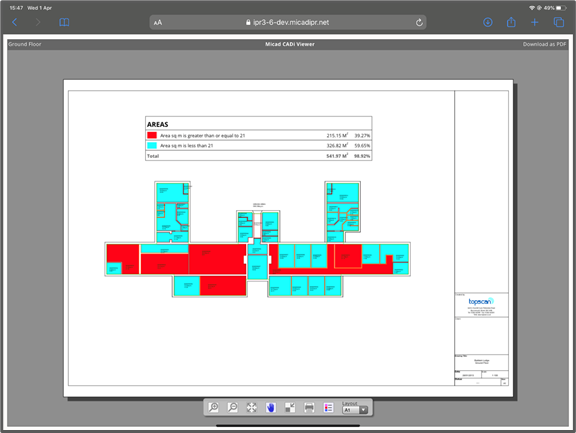
Fullscreen Graphic report with Legend.
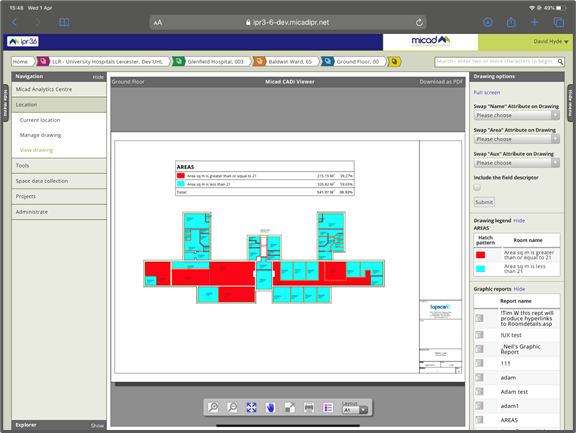
Drawing Options like IPR 3.5 can also be used on the iPad.
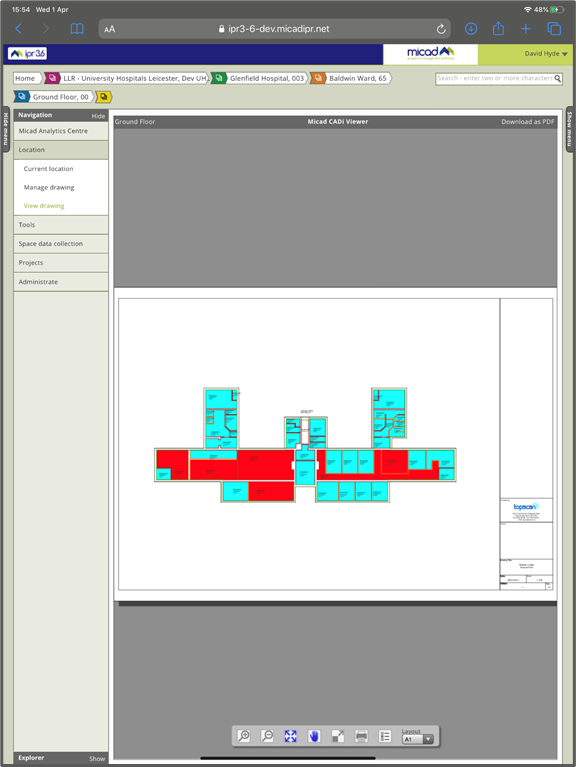
You can also rotate the iPad if you need to view a drawing in portrait.
Comments
0 comments
Please sign in to leave a comment.